Want to just get started? Sign up for Hostinger and get a free domain today.
If you’re ready to launch a new website, the first place you need to start is with the domain. The domain is the address people will type in to go to your website, so you can see why this first step is crucial. You need to start with finding and registering a domain name, which can be a bit confusing if you’ve never done it before. However, I am here to show you that it’s actually quite easy to find a domain name and register it – for free.
Yes, you read that right. Whether you’re starting a blog, building an online portfolio, or creating a personal or business website, I’ll show you the quick and easy way to get a free domain name.
- Free domain name included with your hosting plan
- 24/7 live chat support
- 30-day money-back guarantee
- Affordable domain hosting
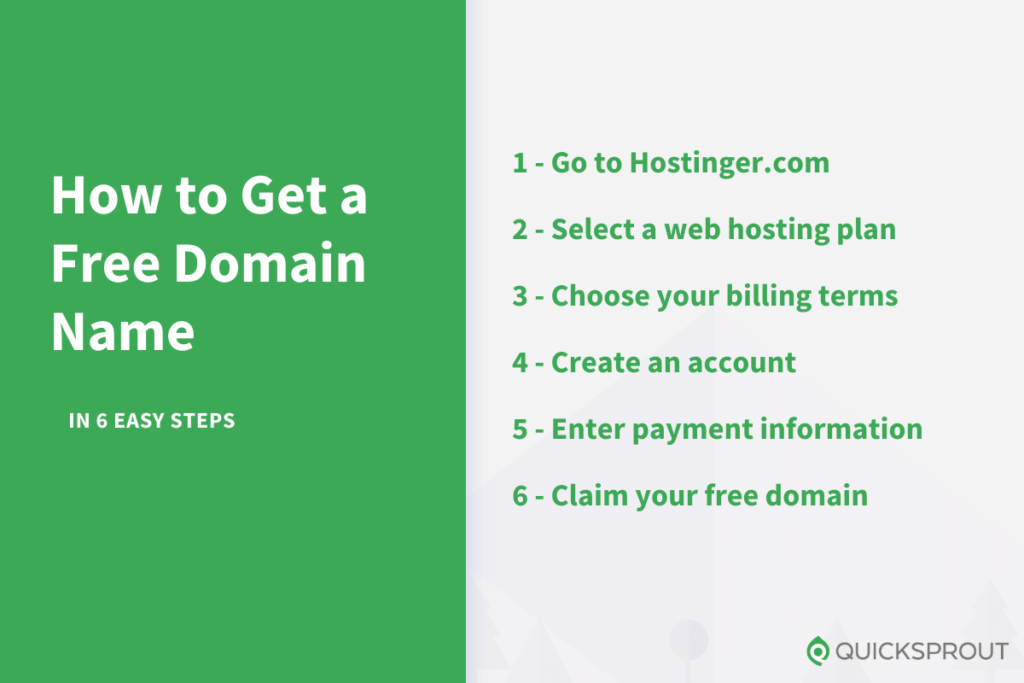
6 Steps To Get a Free Domain Name
Getting a free domain is easy, and it only takes six simple steps.
- Go to Hostinger.com
- Select a web hosting plan
- Choose your billing terms
- Create an account
- Enter payment information
- Claim your free domain
Today I’m going to show you how easy it is to claim your free domain name with Hostinger. Why? Because hands down, Hostinger is one of the easiest ways for someone new to domain names to get one for free.
There are a few other ways to get a free domain name with free hosting, and I’ll cover those later. But going with Hostinger means you won’t run into the limitations that come with those other options.
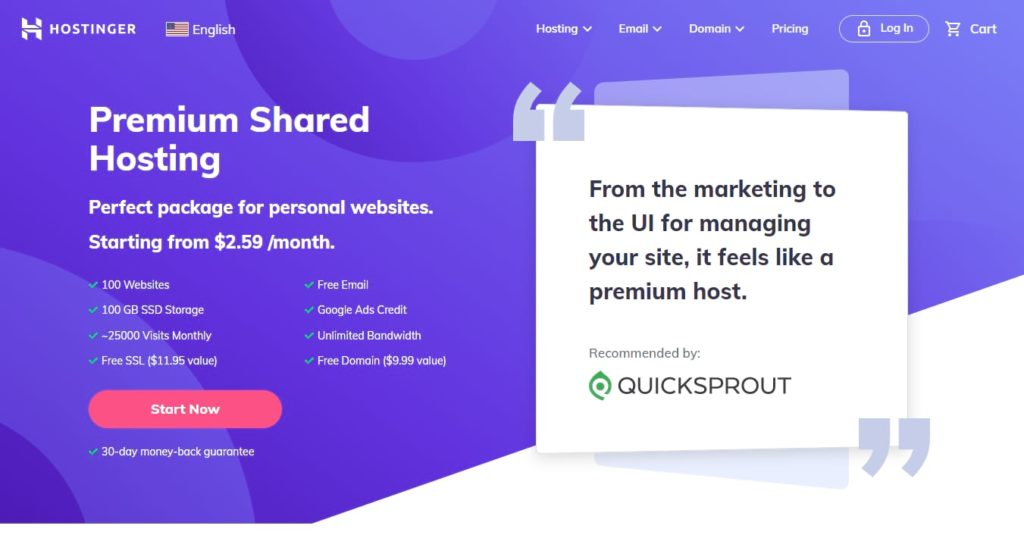
Hostinger is a great option to get a free domain, since it comes bundled with its most affordable web hosting packages. These bundle deals are really valuable, because you’ll still need someone to host your future website once you secure your domain name.
With a bundle you kill two birds with one stone. Plus you keep domain registration and web hosting with a single provider.
Hostinger’s low-cost bundles also include WordPress, free email accounts, and other tools you’ll need to build a great-looking website.
The signup process for Hostinger is incredibly easy. Everything is geared toward beginners, so you don’t need any technical experience to get started.
There’s no sign-up risk, either, since Hostinger offers a 30-day money-back guarantee. If you aren’t happy for any reason, get in touch within a month of the start date to receive a full refund.
Hostinger keeps it simple: Click Start Now and purchase one of the plans with a free domain! But I’ll walk you through getting your free domain name with Hostinger below.
Step 1: Go to Hostinger.com
The first thing you need to do is visit the Hostinger website. The company regularly runs specials, so be sure to pay attention to the offers displayed on their home page.
You’ll see several different menu navigation options. Click the Hosting option, and select Shared Hosting from the dropdown menu.
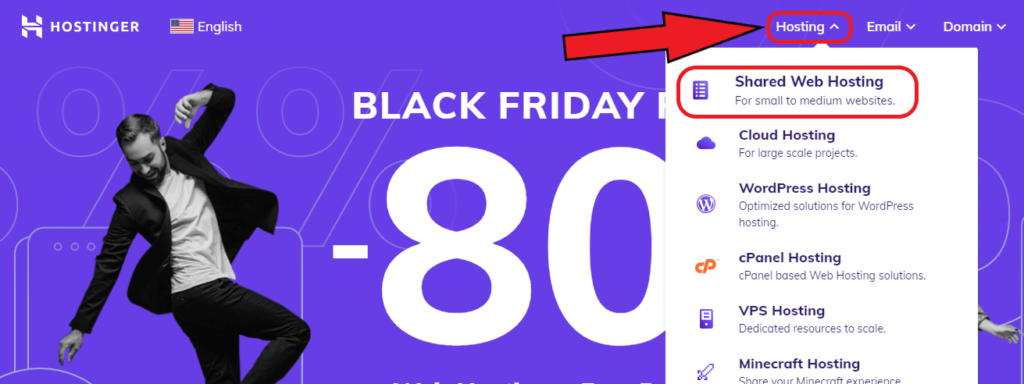
You’ll see other types of web hosting, like cloud hosting, VPS hosting, and Minecraft hosting. Ignore those.
Shared hosting is the most affordable way to get a free domain name, and it requires the least amount of maintenance and security know-how on your part.
If your website gets super popular, or you want to add some interactive features, you may outgrow shared hosting.
If and when that happens, Hostinger makes it easy to upgrade your hosting arrangement. More resources, more control, more websites–it’s just the click of a button when you’re ready.
Step 2: Select a Web Hosting Plan
After selecting the appropriate type of hosting, you need to choose the right plan.
Hostinger offers a few different options for shared hosting. If you want to get a free domain, don’t select the Single Shared Hosting plan, as it does not come with one.
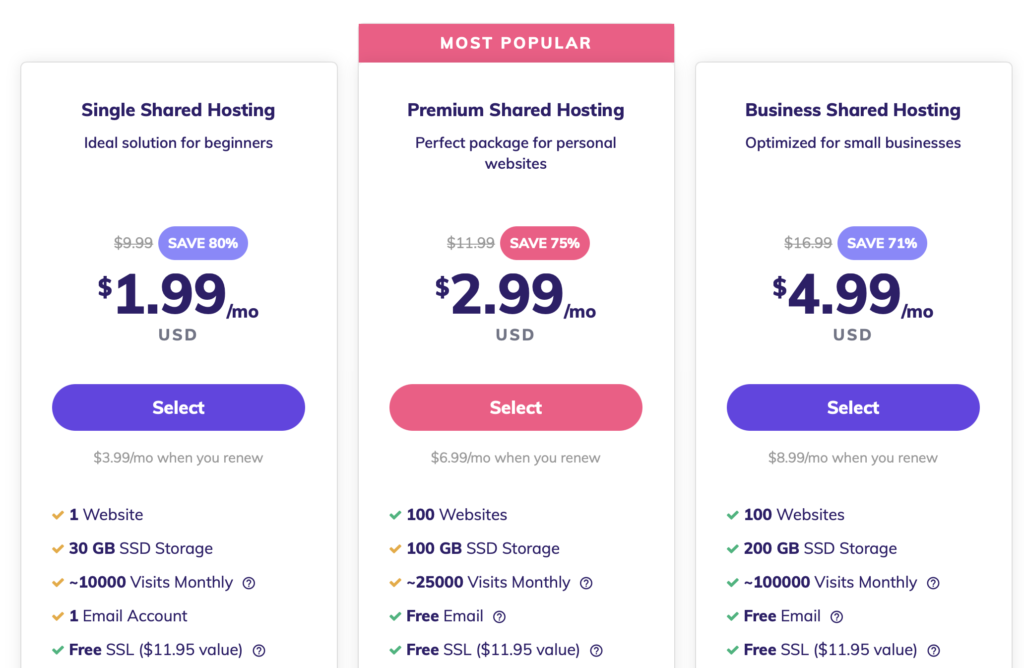
The cheapest plan is a steal, no doubt, but if you want a free domain, it’s the wrong way to go. That leaves you with the Premium and Business Shared Hosting plans.
Here’s what each plan offers.
Premium Shared Hosting (includes free domain name)
- Create up to 100 websites
- 100 GB SSD storage
- Unlimited bandwidth
- Unlimited databases
- Approximately 25,000 monthly visits
- Create up to 100 email accounts @yourdomain
- Free SSL certificate
- WordPress one-click install and developer tools
Business Shared Hosting
- Everything that comes with Premium, plus:
- 200 GB SSD storage
- Approximately 100,000 monthly visits
- Lightspeed Cache for WordPress
- Daily backups
- Free CDN
Either of these plans is a solid option. I’d lean toward the Premium plan if you aren’t expecting to hit your resource limits in terms of storage or monthly traffic.
I’d recommend the Business plan for folks that are regularly updating their site or expecting a significant amount of traffic. Business plans include automatic daily backups for the last seven days and weekly backups for the last seven weeks.
The ability to restore your site is crucial. Handling backups on your own is a hassle you can avoid with Business plans.
Step 3: Choose Your Billing Terms
After you select the appropriate plan, Hostinger asks you to choose a period for your plan: monthly, 12-month, 24-month, or 48-month.
If you want the free domain, do not select the month-to-month payment option. Hostinger only includes the free domain with terms of one year or more.
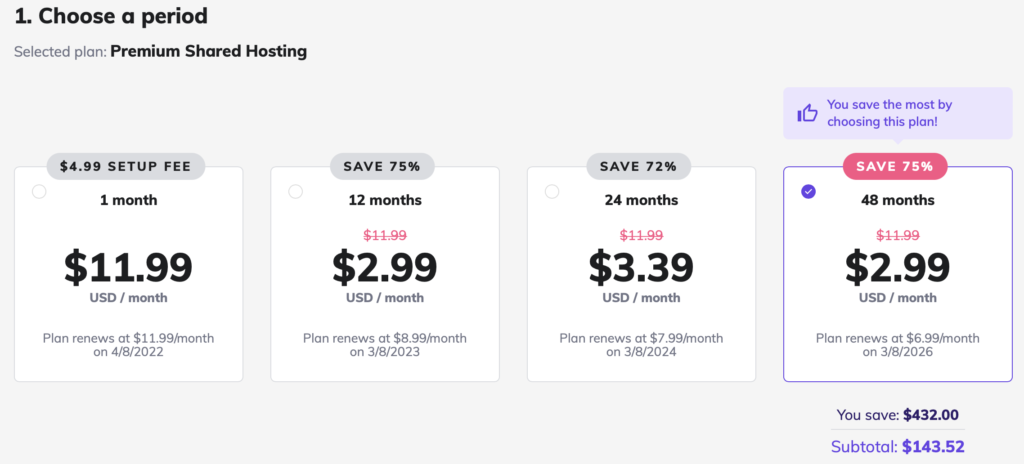
The longer your commitment, the greater the discount. You also stretch out that discount for as long as possible, because renewal pricing is never as good. This is not a Hostinger thing, it is just the way every host does it.
If you sign up for longer, Hostinger will actually lower the renewal rate. This is not common. As you can see in the image above, the renewal price for a single month of service is $11.99 per month, whereas the renewal price for a 48-month term drops to $6.99 per month.
The downside to signing up for a longer period is that you have to pay upfront. Again, this is typical of every host. But I’m willing to take the hit with Hostinger because it is a really great deal.
Do the math: Hostinger Premium Shared Hosting saves you over $400 for four years of hosting. Pay a hundred and change today, and don’t worry about your website hosting again until this year’s high school freshmen have graduated.
When you factor in the savings of a free domain name, the price only gets better.
Step 4: Create an Account
After selecting your plan period, you’ll need to share the email address you’ll use to log into your new Hostinger account. Alternatively, you can log in using your account from Facebook, GitHub, or Google.

I’d make this an email you check regularly. If there’s ever an issue with your site, this is how Hostinger is going to get in touch with you.
Step 5: Enter Payment Information
After you set up your email, choose your preferred method of payment. Hostinger supports a range of popular credit cards and payment gateways.
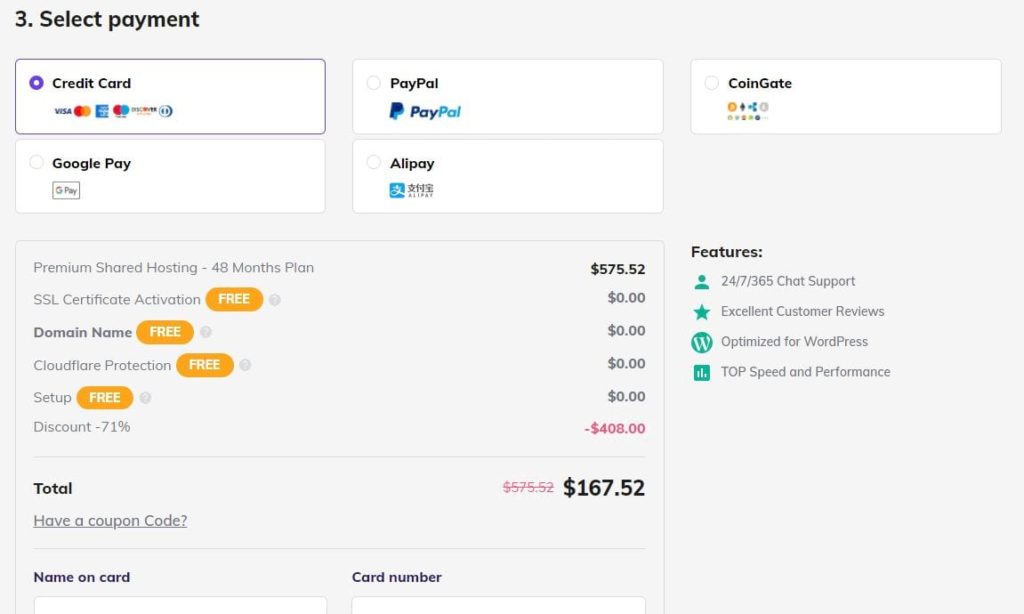
Normally, I’d walk you through some of the other add-ons you want to select as part of your package, but because we’ve decided to go with a 48-month term of Premium Shared Hosting, all of the critical features are included:
- Free domain name: you don’t have to pay for the first year
- Free CDN: better security and site performance
- SSL Certificate activation: keeps your site safe and trusted
All of these added services are great. While you can configure SSL certificates and CDNs yourself, potentially without spending a dime, it’s not easy unless you know what you’re doing. Hostinger makes all of this happen with just a few clicks. Beginners never have to worry about expiring SSL certificates or CDN issues.
Hostinger also waives the setup fee, which month-to-month customers have to pay.
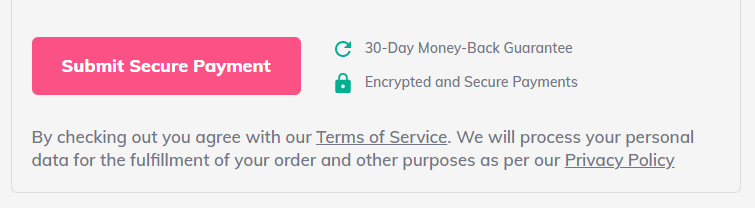
Once you’ve confirmed how you want to pay, enter your payment details and click the button to submit at the bottom of the page:
Step 6: Claim Your Free Domain
Once your payment goes through, you’ll have the option to claim your free domain name.
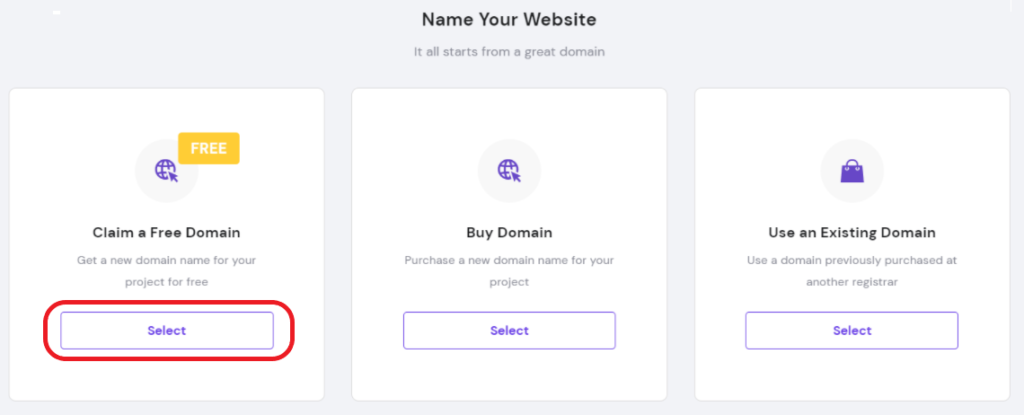
Select this option unless you want to buy additional domains or connect other domains you own.
From there, Hostinger will walk you through the process of selecting a domain name that’s available. You can search right on their site.
Hostinger offers domains with different extensions, including:
- .com
- .online
- .site
- .webspace
- .space
- .tech
- .store
- .blog
- .net
- .org
- .info
- .co
- .biz
- .us
- .club
For the vast majority of websites, we recommend getting a .com domain. But you can consider an alternative extension if the .com version is unavailable or too expensive.
Even though you’re getting the first year for free, you should still pay attention to the cost of your domain. Otherwise, you may end up paying more than you wanted or expected upon renewal.
For example, the average cost of a domain is just $10 to $20 per year. But if you unknowingly purchase an aftermarket domain, that number could be significantly higher.
Cost aside, .com domains are better for the long-term success of your site. While Google says that having a top-level domain (TLD) doesn’t play a role in its ranking factors, .com domains are usually more memorable for site visitors.
Here’s why.
First, .com domains are widely known and convey trustworthiness for your site. Website visitors and other sites will think you’re legitimate when they see a .com extension. This can encourage other sites to link out to yours, which is crucial for link building and SEO value.
It’s also important to recognize that .com domains aren’t tied to a particular extension. For example, customers in the US may think twice before purchasing something from a website with a .uk extension.
There are a few reasons why it’s important to get your domain set up right away:
- Someone else could grab your preferred domain name while you are hesitating.
- You’ve already paid for the service, so forcing yourself to take this step keeps your project moving forward.
- If you made it this far, I’m confident you already gave quite a bit of thought about the domain name you want, so stop second-guessing yourself and register your domain.
However, if you skip this step now or click out of the window for any reason, don’t worry. You can always claim your free domain later through your Hostinger dashboard. If you’re struggling to think of a good name, you can always use a domain name generator for inspiration.

Other Ways to Get a Free Domain Name
While Hostinger is definitely one of the best ways to get a free domain, it’s not your only option. I’ll cover some of those alternative options in greater detail below:
Use a Free Subdomain
Most website builders offer free subdomains. A subdomain exists within an existing domain name.
For example, let’s say you’re using a free website builder like Wix. You don’t have to pay for a domain. However, your site will have a subdomain in this format:
yourusername.wixsite.com/yoursiteaddress
Here’s what that would look like if your Wix username was “My Stunning Website 123” and the domain you wanted was “myblogsite.”
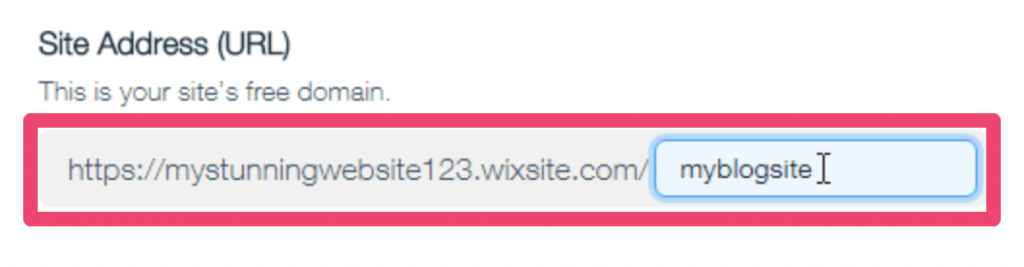
This is obviously not ideal, especially for business websites. No credible site has a domain like this. The only time I would consider using this method for a free domain is if you were just experimenting with the free features of the website builder. But it’s not a viable long-term strategy.
Your domain name should be short and memorable. With a subdomain, it’s neither of those things. Just another generic domain with a bunch of letters your customer has to remember (or rather, forget). Plus, it shows people you’re not even willing to invest the money into an actual domain name.
WordPress is another popular option for a free subdomain. It’s not quite as complex as the free Wix subdomain.
The format for a free WordPress subdomain is:
yoursitename.wordpress.com
You can get away with this for in the short term if you’re using WordPress to run a small blog or personal site. But eventually, you’ll want to get rid of the subdomain once you’re ready to establish a sense of authority online. If it sounds like you want to go this route, check out our step-by-step guide to creating a website with WordPress.
Pay for a Premium Site Builder Plan
Similar to the option above, you’ll likely notice that site builders like Wix (or Squarespace, Zyro, or most of our other recommended website builders) have options that eliminate the need to settle for the free subdomain.
But there’s a catch. You’ll have to upgrade to a paid plan with your website builder.
This option may not be a worthwhile solution for some of you. Paying for a premium site builder plan is likely to not only negate the savings of a free domain—it’ll almost certainly cost you more. Plus, whatever savings you do get will disappear after one year.
However, if you’re setting up an ecommerce site or something else that needs the enhanced features of a premium Wix or Squarespace plan anyway, this can be a way to mitigate some of that first-year expense.
Fortunately, even the base-level paid plans for Wix, Squarespace, and Zyro offer this bonus.
Be very careful to research the rates at which these domains will renew. You don’t want to get stuck with a bad deal that totally wipes away the savings of the first year for free and is more expensive in the end than just paying for a domain from the get-go.
Pay for a Business Email Service
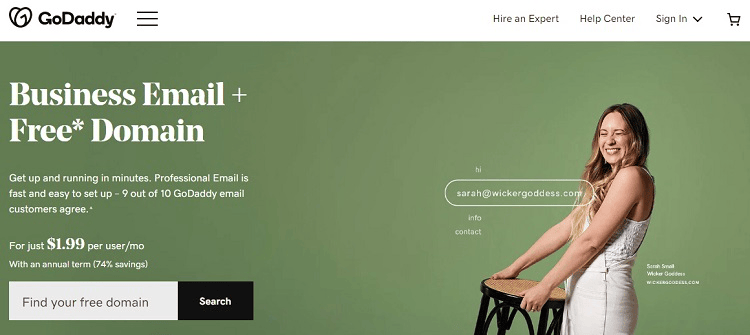
Along the same lines as paying for a site builder plan and receiving a free domain, you can pay for a business email service and receive a free domain. Places like GoDaddy will allow you to pay for a business email account while receiving a free domain for the first year.
Keep in mind the drawbacks that we mentioned in the last section. With some of these services, you will have to pay any ICANN registration fees for your domain. You also will have to begin paying fully for the domain in year two and beyond, and some of these renewal rates can be quite high.
Do your homework before you try to obtain a free domain name by subscribing to a business email service. You may find that it’s a better deal to just pay for a web hosting service like Hostinger to receive your free domain name.
Domain Registrar Ad Programs (Not Recommended)
Many domain registrars offer free domains in exchange for running ads on your website.
I do not recommend this.
There’s nothing wrong with ads on your website. But if you’re doing so through a domain registrar, you won’t have any control over the ads and their placement. This will not only hinder the experience for your website visitors but will also damage your SEO ranking.
Plus, if your website gets thousands or even millions of views, you won’t see a dime from those ads. All you get is a free domain.
If you want to run ads on your website, do it through a legitimate advertising network like Google. Don’t exchange ads for a free domain.
Free ccTLD Services (Not Recommended)
There are tons of TLD (top-level domain) services on the web, each offering a range of different country codes. This refers to the extension after your domain name.
So instead of getting a .com domain, you can register your domain using an alternative country code like:
- .tk — Tokelau
- .ml — Mali
- .ga — Gabon
- .cf — Central African Republic
- .gq — Equatorial Guinea
You can get these from services like Freenom or Dok.tk.
Again, this is not something I recommend.
Some country codes can make your website seem sketchy, which doesn’t help you build trust with those who visit your site. If you look up reviews about these ccTLD services, you’ll find nothing but criticism. From malicious ads to adult content and random domain removal, you won’t have a pleasant experience if you choose free ccTLD services.
Another big drawback here is that you do not gain ownership of the domain name when you subscribe to one of these services. This means you can’t transfer the domain name to anyone else, and you could lose the domain name at some point in the future if the service changes its mind.
If you are trying to run any sort of legitimate business or blog, using one of these services is not the way to go. It might be free, but it almost certainly will cost your site its reputation.
Getting a Free Domain Name: Your Top Questions Answered
Conclusion
Hostinger is the best way to get a free domain name. Just sign up for a web hosting plan, and they’ll give you a free domain for one year.
There are other ways to avoid paying for a domain: using a free subdomain, joining an affiliate program, or using a sketchy ccTLD service. But I personally wouldn’t recommend the majority of alternative options.
If you’re thinking about getting a free domain using a random country code from some island in the South Pacific, don’t do it. Saving a few dollars isn’t worth the cost of running a spammy website.
Stick with Hostinger, or check out the best domain registrars for paid alternatives. They’ll give your website and brand a professional edge. First impressions are everything. You don’t want yours to be ruined by a bad domain name.
- Free domain name included with your hosting plan
- 24/7 live chat support
- 30-day money-back guarantee
- Affordable domain hosting